Instructions
Course instructions video
Please do take ten minutes to watch these video instructions below, and you’ll be able to refer back to them at any time.
LOGGING IN AND MANAGING YOUR ACCOUNT
To access the Curtis Brown Creative educational platform, type learn-forum.curtisbrowncreative.co.uk (without a ‘www’) into your internet browser. Then, to sign in to the course, type your username and password into the white boxes. Your username and password will have been emailed to you before the course begins, but if you haven’t received these, please email us immediately at cbccourses@Curtisbrown.co.uk.
CHANGING YOUR LOGIN PASSWORD
Click the ‘Edit Profile’ on the ‘Welcome Screen’. You can change your login password to something memorable here.
ACCESSING MATERIAL
The course in which you are enrolled will appear in the dashboard. Click on your course, then scroll down to see the modules currently open (see below).
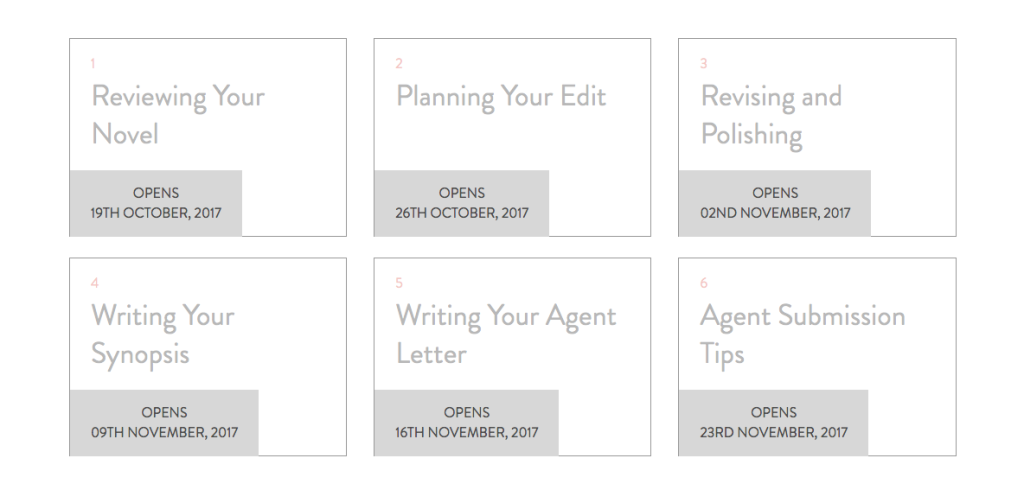
On a specified day each week, a new module will open – giving you access to that week’s teaching videos, notes on the topic being covered and writing exercises. You can either access these by clicking on the boxes or by clicking ‘Modules’ in the toolbar at the top right-hand corner of the screen, then selecting the week required. If you’re looking for a specific resource, you can find it by clicking ‘Resources’ in the toolbar. The Resources page will list all available materials, grouped by module.
To watch any video, simply move your cursor onto the picture then click on the right-facing arrow button in the bottom-left of the video screen. You can make the video full-screen by clicking on the four-arrowed icon that sits between the words ‘HD’ and ‘Vimeo’ in the bottom-right of the screen.
DOWNLOADING TASKS AND RESOURCES
To download any of your writing tasks or resources required for a particular exercise, simply click on the ‘Task download’ or ‘Resource download’ buttons within the module. The files will then download to your computer (generally into your ‘Downloads’ folder – unless you’ve specified otherwise). Videos and notes in the platform will not be available for download, however the platform will remain open to you after the course has concluded for the foreseeable future. Though the forums will be closed to further discussion, the full content of the course will remain available for you to access. If for any reason, the content is made unavailable at some point in the future, you will be notified in advance should you wish to save anything while the content remains available.
Accessing the online discussion forum
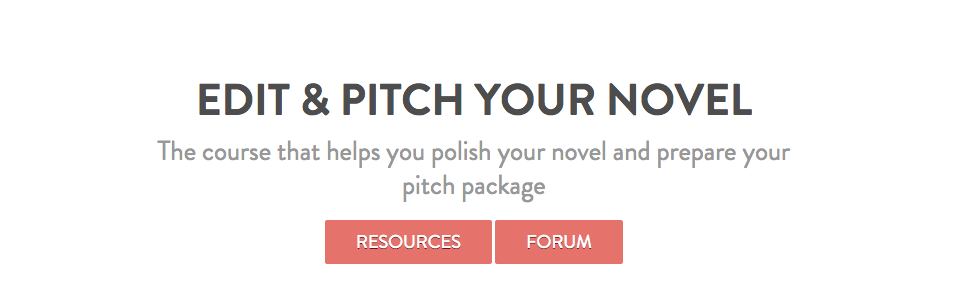
You can access the discussion forums in a few different ways. When you’re in the ‘Course Home’ section, click the red ‘Forum’ button.
This will take you to the ‘Forum Home Screen’ where you will see six different categories relating to the different course modules (eg. ‘Reading as a Writer’).
Click through to the discussion area you would like to access.
You can also link to the forum area through specific modules on the module pages themselves. At the top of each module, there is a red button that will take you into the forum area linked to that module.
Personalising your profile
The first thing to do once you have entered the forum area is to personalise your profile. Click on the top-right icon (which will likely be your first initial at this point, eg. ‘J’), and then your click name: this will take you to your profile page.

You will see something saying ‘preferences’, click here. Click here and you can upload a photograph of yourself. Please do – so we’re not staring at your initials for the duration of the course! To upload an image of yourself, click the pencil icon next to your picture button, then click the ‘upload picture’ button. Select a file from your computer.
You can also add a short bio in this section: you might want to have a paragraph or two about yourself or perhaps include the pitch of your novel in progress. Click the ‘Profile’ button to do this.
Leaving the discussion forum area
You can leave the forum discussion area and return to the module notes and videos at any time by clicking the ‘back ’ button (on the furthest top left-hand corner of the screen).

Categories and subcategories
In the main forum discussion area, from the top left of the screen, you will see a number of drop-down ‘category’ markers. The furthest to the left is the most basic – it names the course you are currently enrolled in (eg. Edit and Pitch Your Novel).
The second breaks things down in terms of the course modules, in the order in which they appear on the site (eg.‘Reviewing Your Novel’).
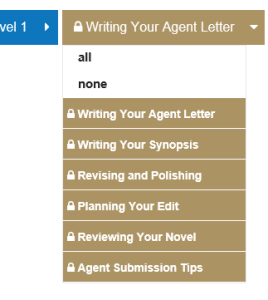
If you click this second drop-down menu and click ‘All categories’ it will bring up every single discussion thread for the course as a whole. But by clicking individual modules on this drop-down list will bring only the discussion threads for the relevant module.
You can also filter each topic discussion into ‘latest’ (the most recent active topic) and ‘top’ (which means the most discussed).

The layout of the forum page
While on this page you are given the key information about a specific topic discussion: From left to right:
- The name of the topic
- What module category it is in
- Who the most recent ‘users’ have been in the specific discussion
- How many replies a topic has had
- How many views
- The most recent activity on a specific thread
Taking part in a forum discussion
To view a discussion simply click on it to open it out. To add your comment to a thread you can either click the ‘reply’ to the post at the top of the page. Two text boxes will open out at the bottom of your screen. The one on the right is your ‘preview window’ which is handily telling you what your post will look like once you have posted it.
This is useful if you are looking to format your work in particular ways. Once you are happy with what you’ve written, click submit and your work will be posted up. If you decide to leave the page without submitting, your work will be saved as a draft.
You will see a number of options in terms of adding formatting, emojis, links above the text box. You can also attach word docs, images and PDFs.
Replies
If you want to reply to a specific post, click the reply icon on the top right of the post. This will open up a text box in the normal way.
Once you’ve submitted, your reply will come out in TWO places, first, it will sit ‘chronologically’, second it will be ‘nested’ underneath the post it is replying to.
You’ll be able to recognise when a post is in reply to another post by the fact that a ‘reply icon’ will sit on the right-hand corner of the post in question.
If you click this it will usefully bring up the post which is being replied to.
Starting your own topic discussion
For all tasks, we’d like you to start your own topic discussion, as this will make it easier for everyone to access and comment on each others’ work. We will be telling you on the forum when and where we’d like you to post different tasks as we go through the different weeks of the course.
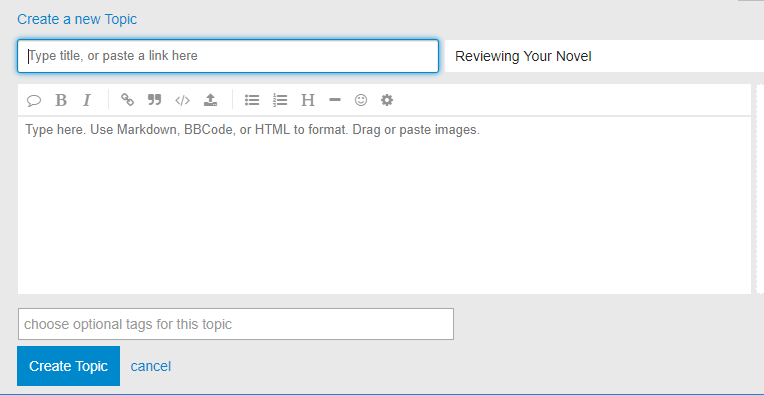
When making your own topic, press the ‘make new topic’ button at the top right of the ‘main forum’ area.
This will bring up a text box. Please title your topic clearly (ie. Joe’s attempt at week 1: task 1). You can then choose which module category you would like to put it in: pick the module from the drop-down list.
Deleting and editing
You can easily edit your post by clicking the ‘edit’ icon.
Useful features
1. Tagging other students
When making a topic or responding within a discussion you can ‘tag’ other students if you want to draw their attention to something or bring them into a discussion. For anyone familiar with Facebook or Twitter, it is very much the same idea, press the @ button and it will bring up a drop-down list of students.
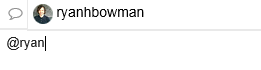
Once a student is tagged, they will receive a notification letting them know.
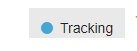
2. Adjust how you are notified about different discussion threads
On each topic discussion thread, at the bottom of the thread, you are able to adjust how you are notified about a thread using the ‘Tracking’ icon. If you would prefer not to be notified at all you can ‘mute’ a thread, similarly if you want to keep a particularly close eye on one discussion, you can adjust so you are notified about every single response.
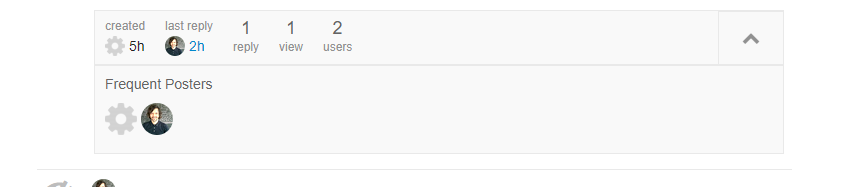
3. Filtering discussions
You can filter which parts of the discussion you see by going to the top of a discussion thread. Under the first post, you will see is information on the thread (how many replies, frequent posters, etc). Click the arrow to the right of this and it will bring up all the students involved in this particular discussion. Click on the ‘icon’ of an individual student and it will filter the topic so only that student’s posts will be visible.
Any technical issues
If you’ve got any questions about any element of how to access and post up work, don’t hesitate to get in contact with us at cbccourses@curtisbrown.co.uk
Our office hours are 9.30-6pm GMT Monday-Friday. We’re here to help.